Changing your account payment method to direct debit
Inside Philanthropy offers a convenient way to save on credit card fees through our direct debit/ACH self-administered option. We recommend this method for site licenses, group subscriptions, and individual subscriptions. You can replace your credit card payment method with an ACH payment method that you set up directly through your Account page.
Getting started with ACH direct debit
Have these details ready before you begin:
1) Account holder’s name or company name (you can set it up under a person’s name or your company name)
2) Street address, city, state, zip (of the person or company - not the bank)
2) Bank Routing Number
3) Bank Account Number
4) Bank Account Type (you’ll need to indicate checking or savings)
That’s it! Below are the simple steps; estimated 5 minutes to complete the wizard.
Step 1
Click on My Account in the upper right blue bar or click here. If you are not logged-in, follow the prompts to log into your account.

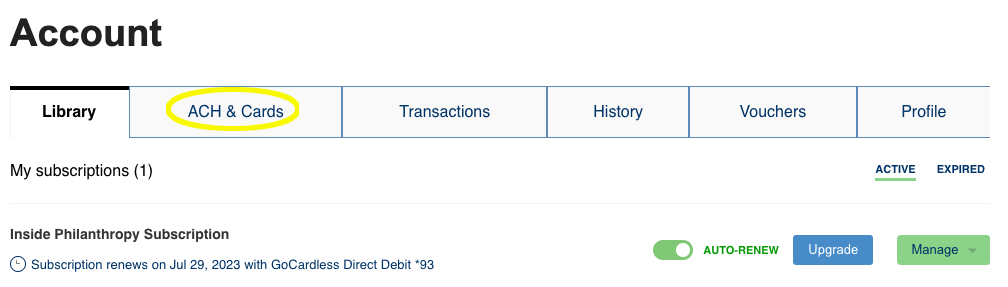
Step 2
On the Account page, click the ACH & Cards tab.
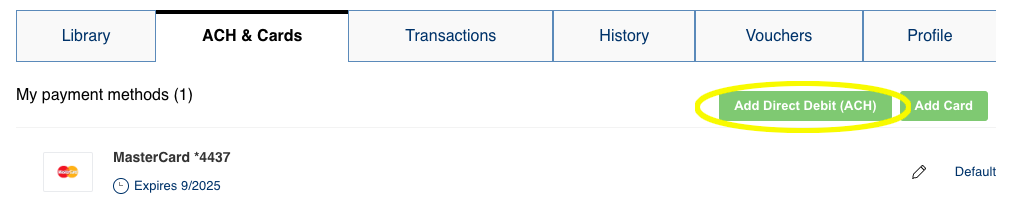
Step 3
Click Add Direct Debit (ACH) green button.
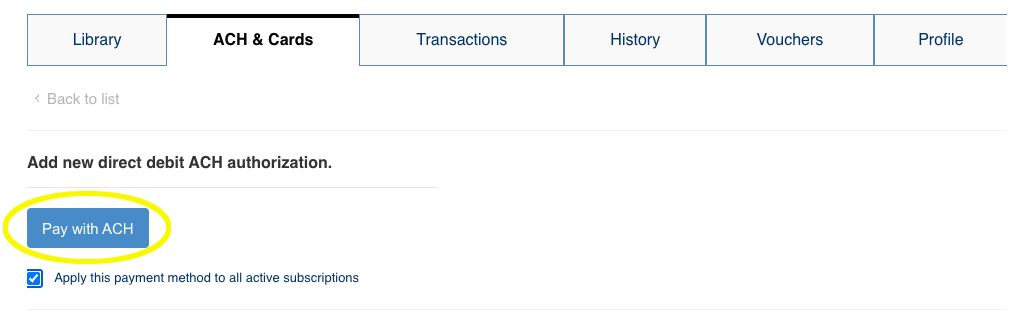
Step 4
Click Pay with ACH blue button and check the (optional) apply to all checkbox.
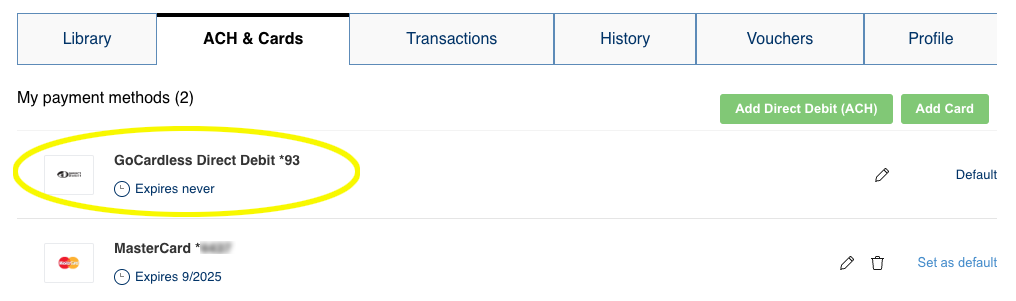
Follow the signup wizard to create your ACH direct debit mandate for Inside Philanthropy. You will receive a confirmation email in about 15-30 minutes typically. You can then return to the IP Account page to view your payment methods. Your account page reflects the new payment method listed.